
Tag: Snacks
Healthy Strawberry Yogurt Fruit Dip
This healthy strawberry yogurt fruit dip only takes three ingredients to make!

So…what do YOU do when your husband comes home from Costco with enough Chobani yogurt to feed a small army?

I love yogurt–in fact, it’s one of those foods that’s almost always on my grocery list because I use so much of it–but even I have my limits as far as how much I can just sit and eat. So when my husband recently came home with yogurt galore (not realizing that I already had a ton of it in the fridge), I was motivated to find a way to use it up.
Fortunately, a potluck get-together with friends was on the horizon, so it only made sense to make a tasty fruit dip to share, especially since it’s berry season. I mean, luscious strawberries and big, bold blueberries are yummy all on their own, but it’s a law of nature that:
EVERYTHING’S BETTER WITH DIP.
In fact, I need that on a t-shirt. Or a wall hanging in my kitchen. My husband calls me the Condiment Queen–a title I happily own.
Anyway, the problem with most fruit dips–even those with yogurt–is, well, their ingredients. There may be a time and place for marshmallow fluff (like in Christmas fudge), but it’s an an ingredient I’d generally rather keep out of my diet. And yet, somehow, it’s virtually inescapable in fruit dip recipes. I even tried googling for fruit dip with the minus sign in front of the words “marshmallow fluff” and STILL all I got was a wall of fluff, fluff, fluff! With the occasional Cool Whip thrown in as salt in the wound.
Convinced that one does not need processed corn syrup products to make an appealing dip, I decided it was time to concoct a healthier version. And guess what? It really wasn’t difficult. (So why the heck does every recipe cling to marshmallow fluff like a sugary security blanket? Who knows?)

This healthy strawberry yogurt fruit dip uses just three ingredients: Greek yogurt-style cream cheese, Chobani lower-sugar strawberry yogurt, and maple syrup. What, you may ask, is the idea behind adding sweetener to a lower-sugar yogurt? As awesome as Chobani’s line of lower-sugar yogurts are for snacking, a more dessert-like treat requires a bit more sweetness. And, as sweeteners go, you can’t do much better than maple syrup. (Trust me on this! I recently wrote a whole article about how maple syrup compares to honey, and I’m Team Maple for its lower calorie and carb counts.)
The most important question, though, is how this healthy strawberry yogurt fruit dip actually tastes. I may be biased, but I think its cool-and-creamy, pillowy fluff is the real deal. Serve with fresh berries and graham crackers for a summery snack everyone can feel good about.
Healthy Strawberry Yogurt Fruit Dip
Just three ingredients whip up into creamy deliciousness for dipping!
Ingredients
- 10 oz. Greek yogurt-style cream cheese, softened
- 2 5.3 oz. containers Chobani less-sugar strawberry yogurt
- 1/4 c. maple syrup
Instructions
- In a large bowl, blend all ingredients with a hand mixer until smooth. Chill for a couple of hours before eating, if possible, to let flavors blend.
Notes
A Love Letter to Food Original Recipe.
Popped Sorghum Protein Balls
Crunchy and sweet, these healthy Popped Sorghum Protein Balls make a super-easy vegan, gluten-free snack!

Whaddaya know about sorghum? You may have heard of this grain as the base for syrups or food flavorings, or maybe you have a vague association of it with endless Midwestern fields of grains–but have you ever tried it all by itself? If not, you’re in for a treat, both eating it all by its lonesome and using it in these tasty, nutty Popped Sorghum Protein Balls.
What is sorghum?
Like most Americans, I haven’t exactly thought of popped sorghum as a go-to snack throughout my 38 years of life. In fact, I had never given the stuff a second thought until I attended a nutrition conference last year and was introduced to it as not just a ho-hum grain that flavored cereals (maybe? or something?), but a snack in its own right.
Sorghum is an African ancient grain that has found a home on American soil. It’s not only gluten-free, vegan, high in fiber, and rich in antioxidants, its growing practices are pretty darn good for the environment, too. According to the presenter at my most recent nutrition conference, 90% of American sorghum farmers do not irrigate, saving valuable water. Plus, three-quarters of them use conservation tillage practices, which conserves soil by reducing erosion. A sorghum habitat even protects and increases wildlife! I don’t claim to be a soil expert (I’ll leave that to my uncle Scott in Quincy, Illinois) but it’s nice to know the majority of sorghum grown in the U.S. has a top-notch environmental profile.
Okay, but what is popped sorghum?
All well and good, I hear you say, but I’m here for the food.
Me too!
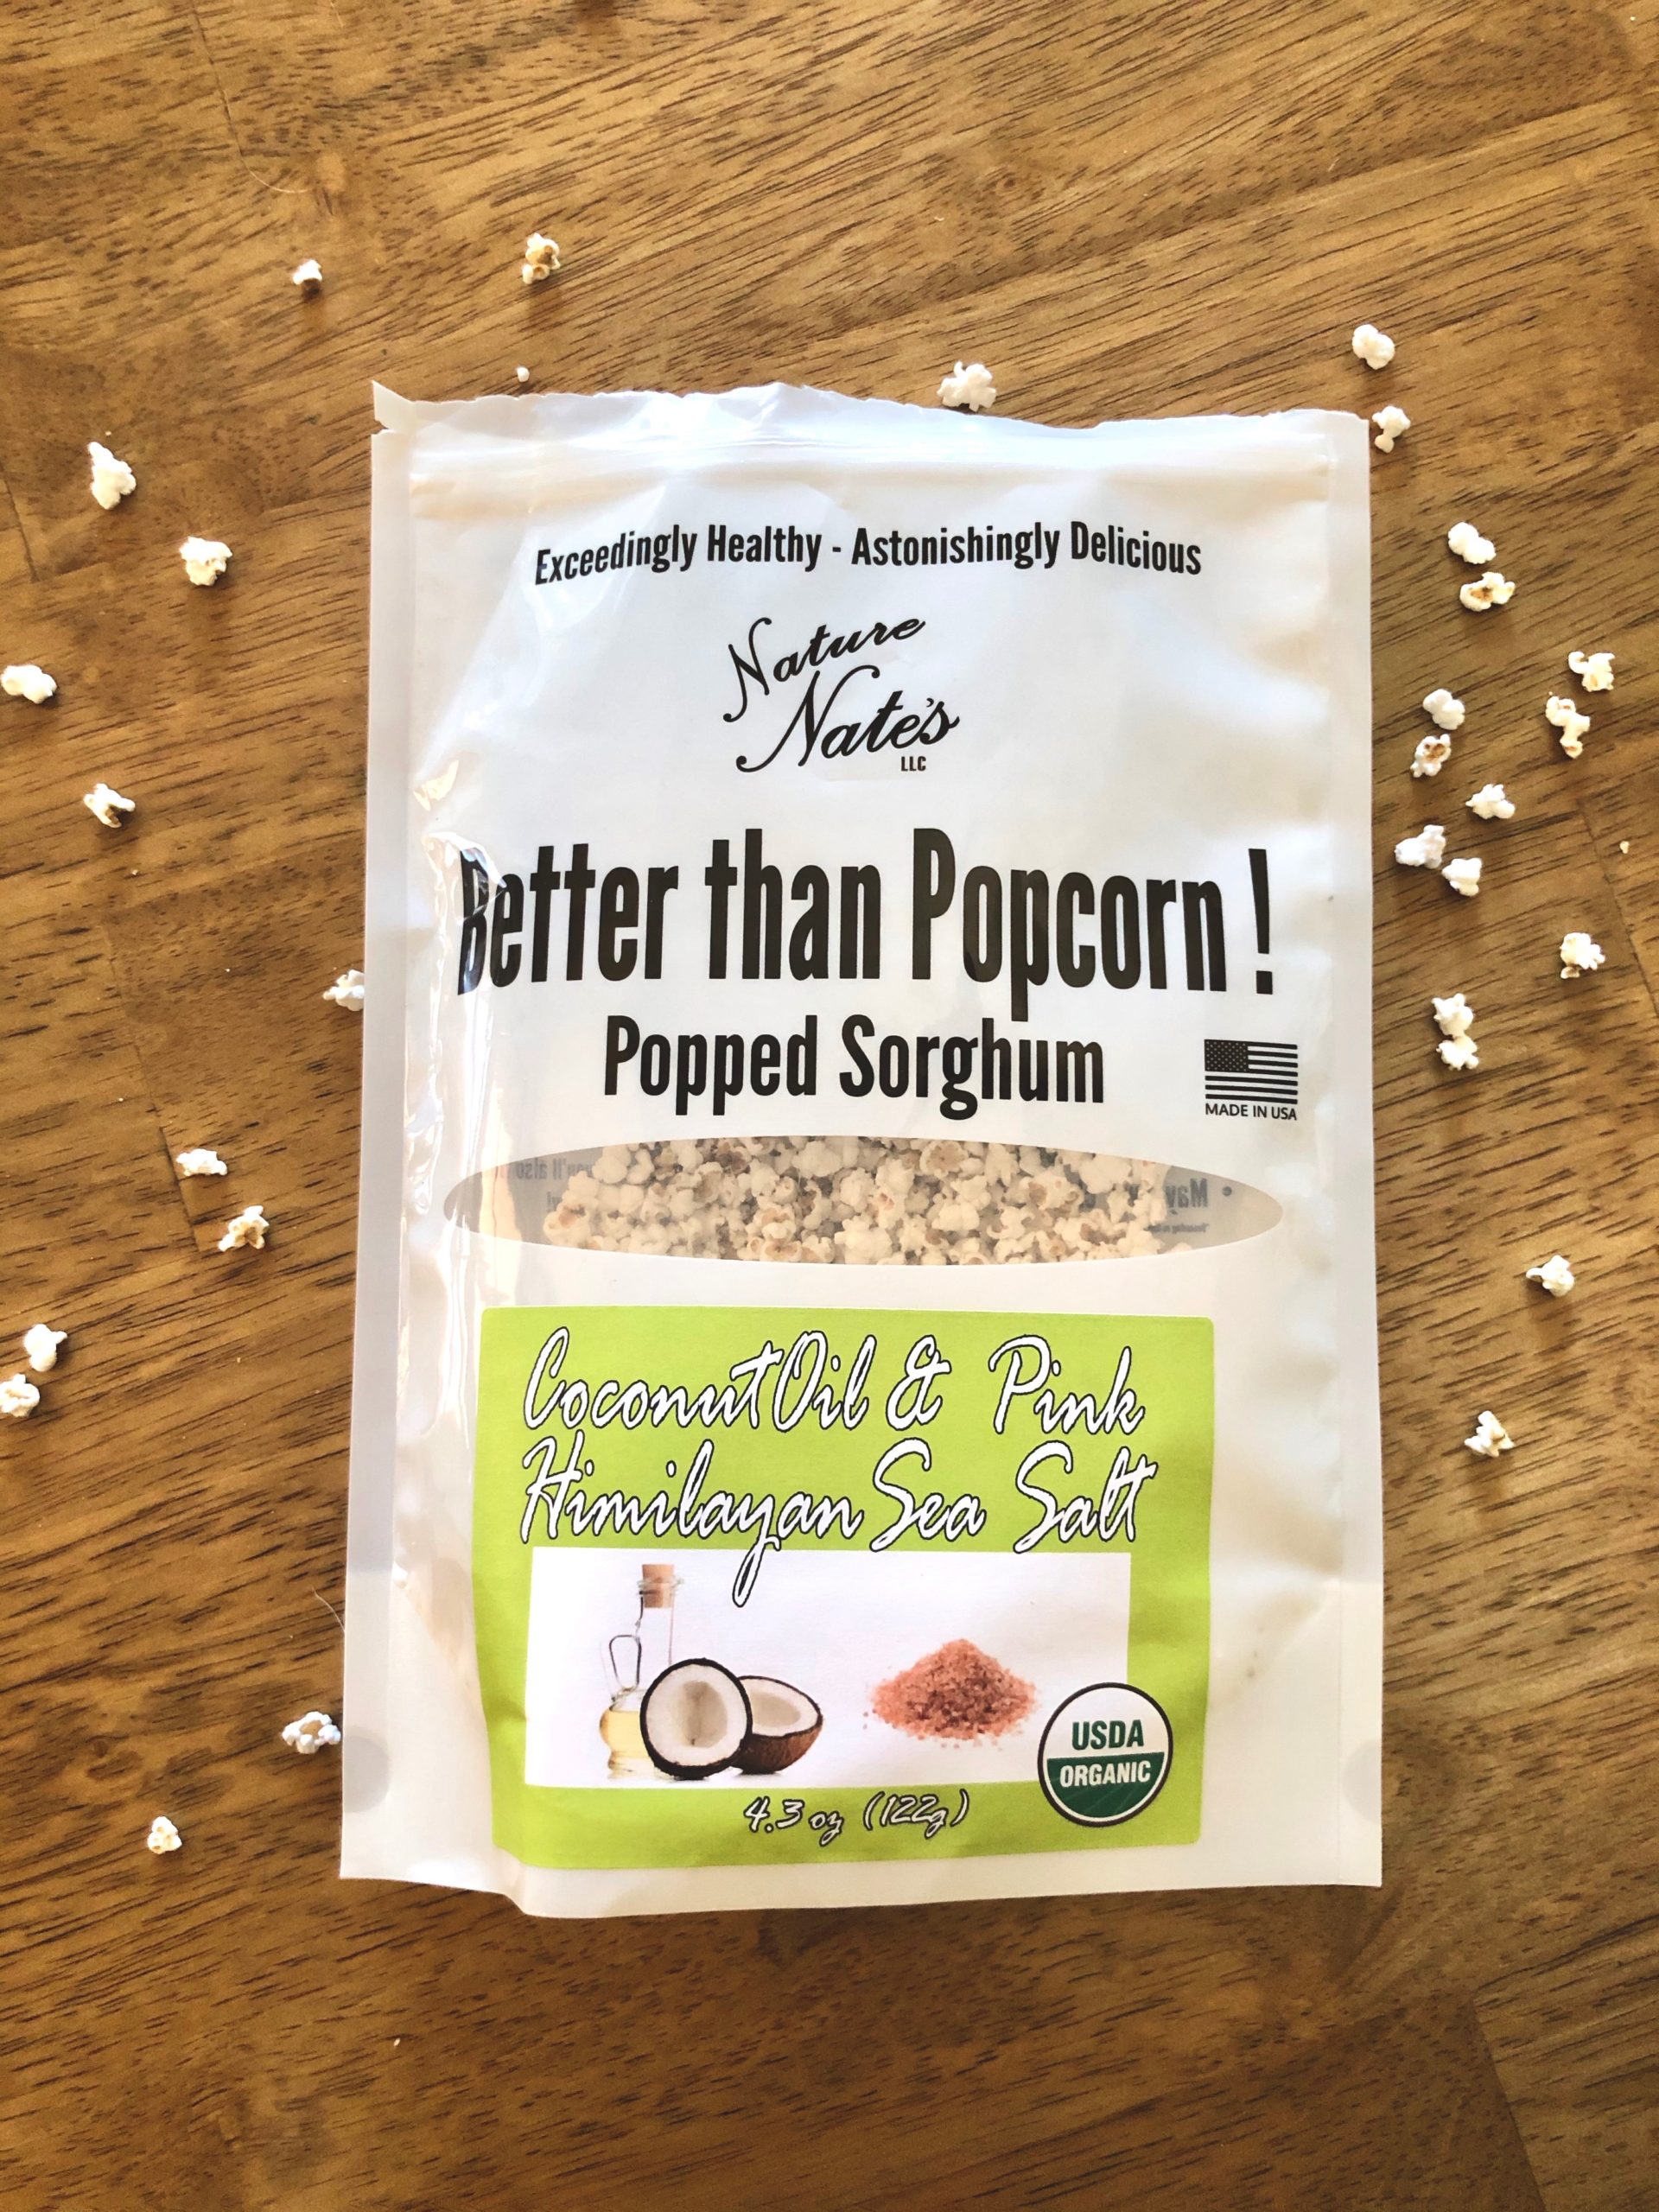
I recently had the chance to try out Nature Nate’s Popped Sorghum, which takes sorghum grains and pops them to create itty-bitty bites of salty deliciousness that are, essentially, like shrink-rayed popcorn.

Look how cute! So tiny!
So far, I’ve tried the Avocado Oil and Sea Salt, Coconut Oil and Pink Himalayan Sea Salt, Rosemary Garlic, and Organic Ghee Butter flavors. In terms of taste, I’d say popped sorghum is like a slightly nuttier popcorn, with a somewhat softer texture. Bonus: There’s no giant, tooth-cracking kernel in the middle just waiting to throw you under the bus for dental work.

My 13-year-old son is our family’s biggest popped sorghum fan. After school, he sits on the couch with a large bowl. My only complaint is, being a teenage boy, he pretty much always leaves the bowl (and the crumbs) for me to clean up.
I digress.
With savory flavor, scoopable size, and crunchy (but not too crunchy) texture, popped sorghum makes for great snacking. But, as a recipe developer, my mind is always churning out thoughts of how else I can use a food. (You know, ’cause eating something all by itself just isn’t exciting enough.)
I’m a fan of energy bites, which always seem tastier with a hint of crunch. So I figured the Avocado Oil and Sea Salt Popped Sorghum from Nature Nate’s could be just the thing to add to a quick batch of peanut buttery protein balls. Sure enough, the little crunchies brought a unique, salty twist (and a boost of fiber and nutrients) to these snacks.

With just six ingredients and one bowl, these bites came out sweet and salty, crunchy and chewy. They also formed up nice and easily into portable, poppable balls. (I’m now trying to convince my 13-year-old to eat them instead of just popped sorghum to save on crumbs.) If your afternoon snacks have gotten a little boring lately, give them a try!
Other ways to use popped sorghum
Got some extra popped sorghum left after you make protein balls? Here are some creative ways to eat this unique grain:
- Sprinkle some in a trail mix
- Use it as a salty topping on ice cream
- Scatter some throughout a chocolate bark
- Add crunch (and extra fiber) to oatmeal

Popped Sorghum Protein Balls
Crunchy and sweet, these protein balls come together in just minutes for a healthy, unique snack.
Prep Time10 mins
Servings: 12 balls
Ingredients
- 1/2 c. Nature Nate's Avocado Oil and Sea Salt popped sorghum
- 1/2 c. creamy peanut butter
- 2 Tbsp. maple syrup
- 1/4 c. flax seed
- 1/2 c. old-fashioned oats
- 1/4 tsp. ground cinnamon
Instructions
- In a large bowl, mix together all ingredients until well combined.
- Using your hands, form into golf ball-sized balls.
- Refrigerate in an airtight container for up to a week.
Notes
A Love Letter to Food Original Recipe.
Disclosure: This post sponsored by Nature Nate’s Popped Sorghum. All opinions my own.
Peach Applesauce
Mix up your applesauce game with this sweet alternative! Peach applesauce is the perfect summery snack or dessert.

Quick: What’s your favorite summer fruit? While my thoughts immediately turn to blueberries and strawberries, peaches come in as a close second (or third, I guess?). These stone fruits are among the most versatile bases for sweets. I mean, is there any dessert you can’t make with peaches? Peach pie, peach cobbler, peach crisp, peach popsicles…I could go on, like:

Sorry, I’ve had a hankering to watch Forrest Gump lately.
Anyway, peaches aren’t just great on their own in snacks, smoothies, desserts, and breakfasts–they also make a great complement to other fruits, like…drumroll please…apples! I wouldn’t normally say homemade applesauce needs any tinkering (it’s pretty great on its own), but when sweet, juicy peaches are in season, might as well use the fruits of summer however you can. (Especially when you’ve brought home a giant pallet of them from Trader Joe’s, like I did recently.)

Anyway, this is one of those toss-everything-in-the-crock-pot-and-let-your-house-fill-with-aromas type recipes. You really can’t screw it up, and you could probably play with it to make it extra peachy, extra apple-y, extra sweet, or whatever you like. I also imagine you could use canned peaches in a pinch (like when they’re not in season).
Plus, since kids are STILL home for the longest summer ever that began in March, this makes a snack you can actually feel good about feeding them. (Anyone else going through snacks at record speed? Not gonna lie, we’ve been through a whole lot of chips and candy around here…)
Once the chunky goodness of this peach applesauce emerges from the slow cooker, it’s delicious hot or cold, on its own or atop vanilla ice cream. It’s a little smoother than traditional applesauce, which I think gives it an extra something special.
Enjoy!
Peach Applesauce
A summery variation on a fall favorite, this Peach Applesauce is lightly sweet with a hint of spice.
Prep Time20 mins
Cook Time3 hrs
Ingredients
- 4 large peaches, peeled and chopped
- 8 Granny Smith apples, peeled and chopped
- 1/4 c. white sugar
- 1 tsp. cinnamon
- 1/4 tsp. nutmeg
- 1/4 c. water
Instructions
- Place all ingredients in a slow cooker. Cook on high 2 1/2 hours, then reduce heat to low and cook another hour or until the fruit has softened. Blend to your liking using a potato masher or immersion blender. Cool and refrigerate.
Peach Green Smoothie

Happy New Year! I hope this holiday season has been treating you well. Get anything cool for Christmas? My husband got me a Nutribullet–aka mega blender extraordinaire. My previous blender was, shall we say, lacking in power. By which I mean it was a hunk of garbage that took 15 minutes just to make a smoothie. And since I love smoothies as an easy afternoon snack that packs in nutrients from fruits and veggies, I’ve been wanting a more capable blender for quite some time.
So far, the Nutribullet delivers! (Even though I gave my husband a hard time about buying me something so pricey and nice.)

The blender comes with a smoothie-cup attachment that screws directly onto the base, which of course is super convenient. I decided to try it out with this refreshing peach green smoothie!
I’m not usually one for green smoothies, but with holiday indulgences edging out my veggie consumption the last week or so, something green sounded like it would hit the spot. To get my eight-year-old daughter to try it with me, I told her it contained a secret ingredient that she had to guess. Once she saw the grassy green color of the smoothie, she had some pretty good guesses, like cucumber and mint–but she certainly didn’t taste the true reason for the lovely green: spinach!
Even I couldn’t tell this smooth concoction contained leafy greens.

Instead of tasting bitter or savory, this smoothie was pure refreshment. (My daughter even said she wants me to make it again.) The peach, honey, and banana shone through for an afternoon pick-me-up that made me wonder why I don’t pop spinach into more smoothies. With its fiber, calcium, and vitamins C and K, it’s a great way to get some extra nutrients around the holidays or any time. If you can’t even taste it, might as well toss it in!
And now that I have the Nutribullet, anyone want an old blender?

Green Peach Smoothie
This fruity green smoothie is so refreshing! Despite its green color, peach flavor shines through with a sweetness that covers the spinach hidden inside.
Prep Time5 mins
Total Time5 mins
Servings: 2
Ingredients
- 1 frozen banana
- 1 1/2 c. frozen sliced peaches
- 2 c. fresh spinach
- 1 Tbsp. honey
- 3/4 c. unsweetened almond milk
- 3/4 c. plain Greek yogurt
Instructions
- Blend all ingredients until smooth. Serve immediately.
Notes
A Love Letter to Food original recipe.
Coconut Chocolate Granola Bars
What would you do if you had a few extra hours to yourself per week?
Someone asked me this recently, and I didn’t have to think very hard before answering: “I’d read more, watch my favorite ’90s movies, probably go shopping for some professional clothes for an upcoming conference, and bake. Definitely bake.”
This weekend, thanks to a much-needed housecleaning service mid-week, I found myself with a bit of extra time on my hands. And, true to my prediction of what I’d do in this situation, I decided I really wanted to bake. But I didn’t want to simply follow a recipe like I normally would.

For me, it’s the creative process that makes cooking (and especially baking) not just fun, but actually therapeutic. Still, because I often have a reason my finished product needs to turn out nice-looking or at least reasonably presentable, I’m usually a recipe-followin’ gal. The trial-and-error nature of free-form baking just isn’t worth the risk if I’m preparing dessert for company or bread for family breakfast. Give me a list of steps someone else has promised will lead to success and I’ll follow like a trusting puppy dog.
Sometimes, though, I get the chance to create my own recipe just for the joy of it. Art for art’s sake, let’s say. My canvas? Today, it was a mixing bowl, a baking pan, and a blend of go-to ingredients. The end result? Granola bars! To me, these DIY noshables are a great option for experimentation. They’re low-risk (’cause, hey, they’re just a snack) and generally forgiving, with their wide-open hodgepodge of various ingredients.

Making these Coconut Chocolate Granola Bars, I had a great time tinkering with the ratios of dry ingredients, binders, and mix-ins–and I’m happy to say they came out just right! These start with a flax egg to make them vegan (just kidding, it’s because I didn’t have any eggs). Then, wholesome additions like oats, whole wheat flour, and honey make their way into the mix, plus sweet treats chocolate chips and coconut. After a 30-minute stint in the oven, these bars emerge chewy and ready for snacking action. Our whole family loved them.
If you’re new to making your own recipes, I say start with granola bars. Or, if you’d like a recipe, start with this one! Tried and tested by yours truly, I can assure you these bars make a delicious homemade alternative to packaged snacks.


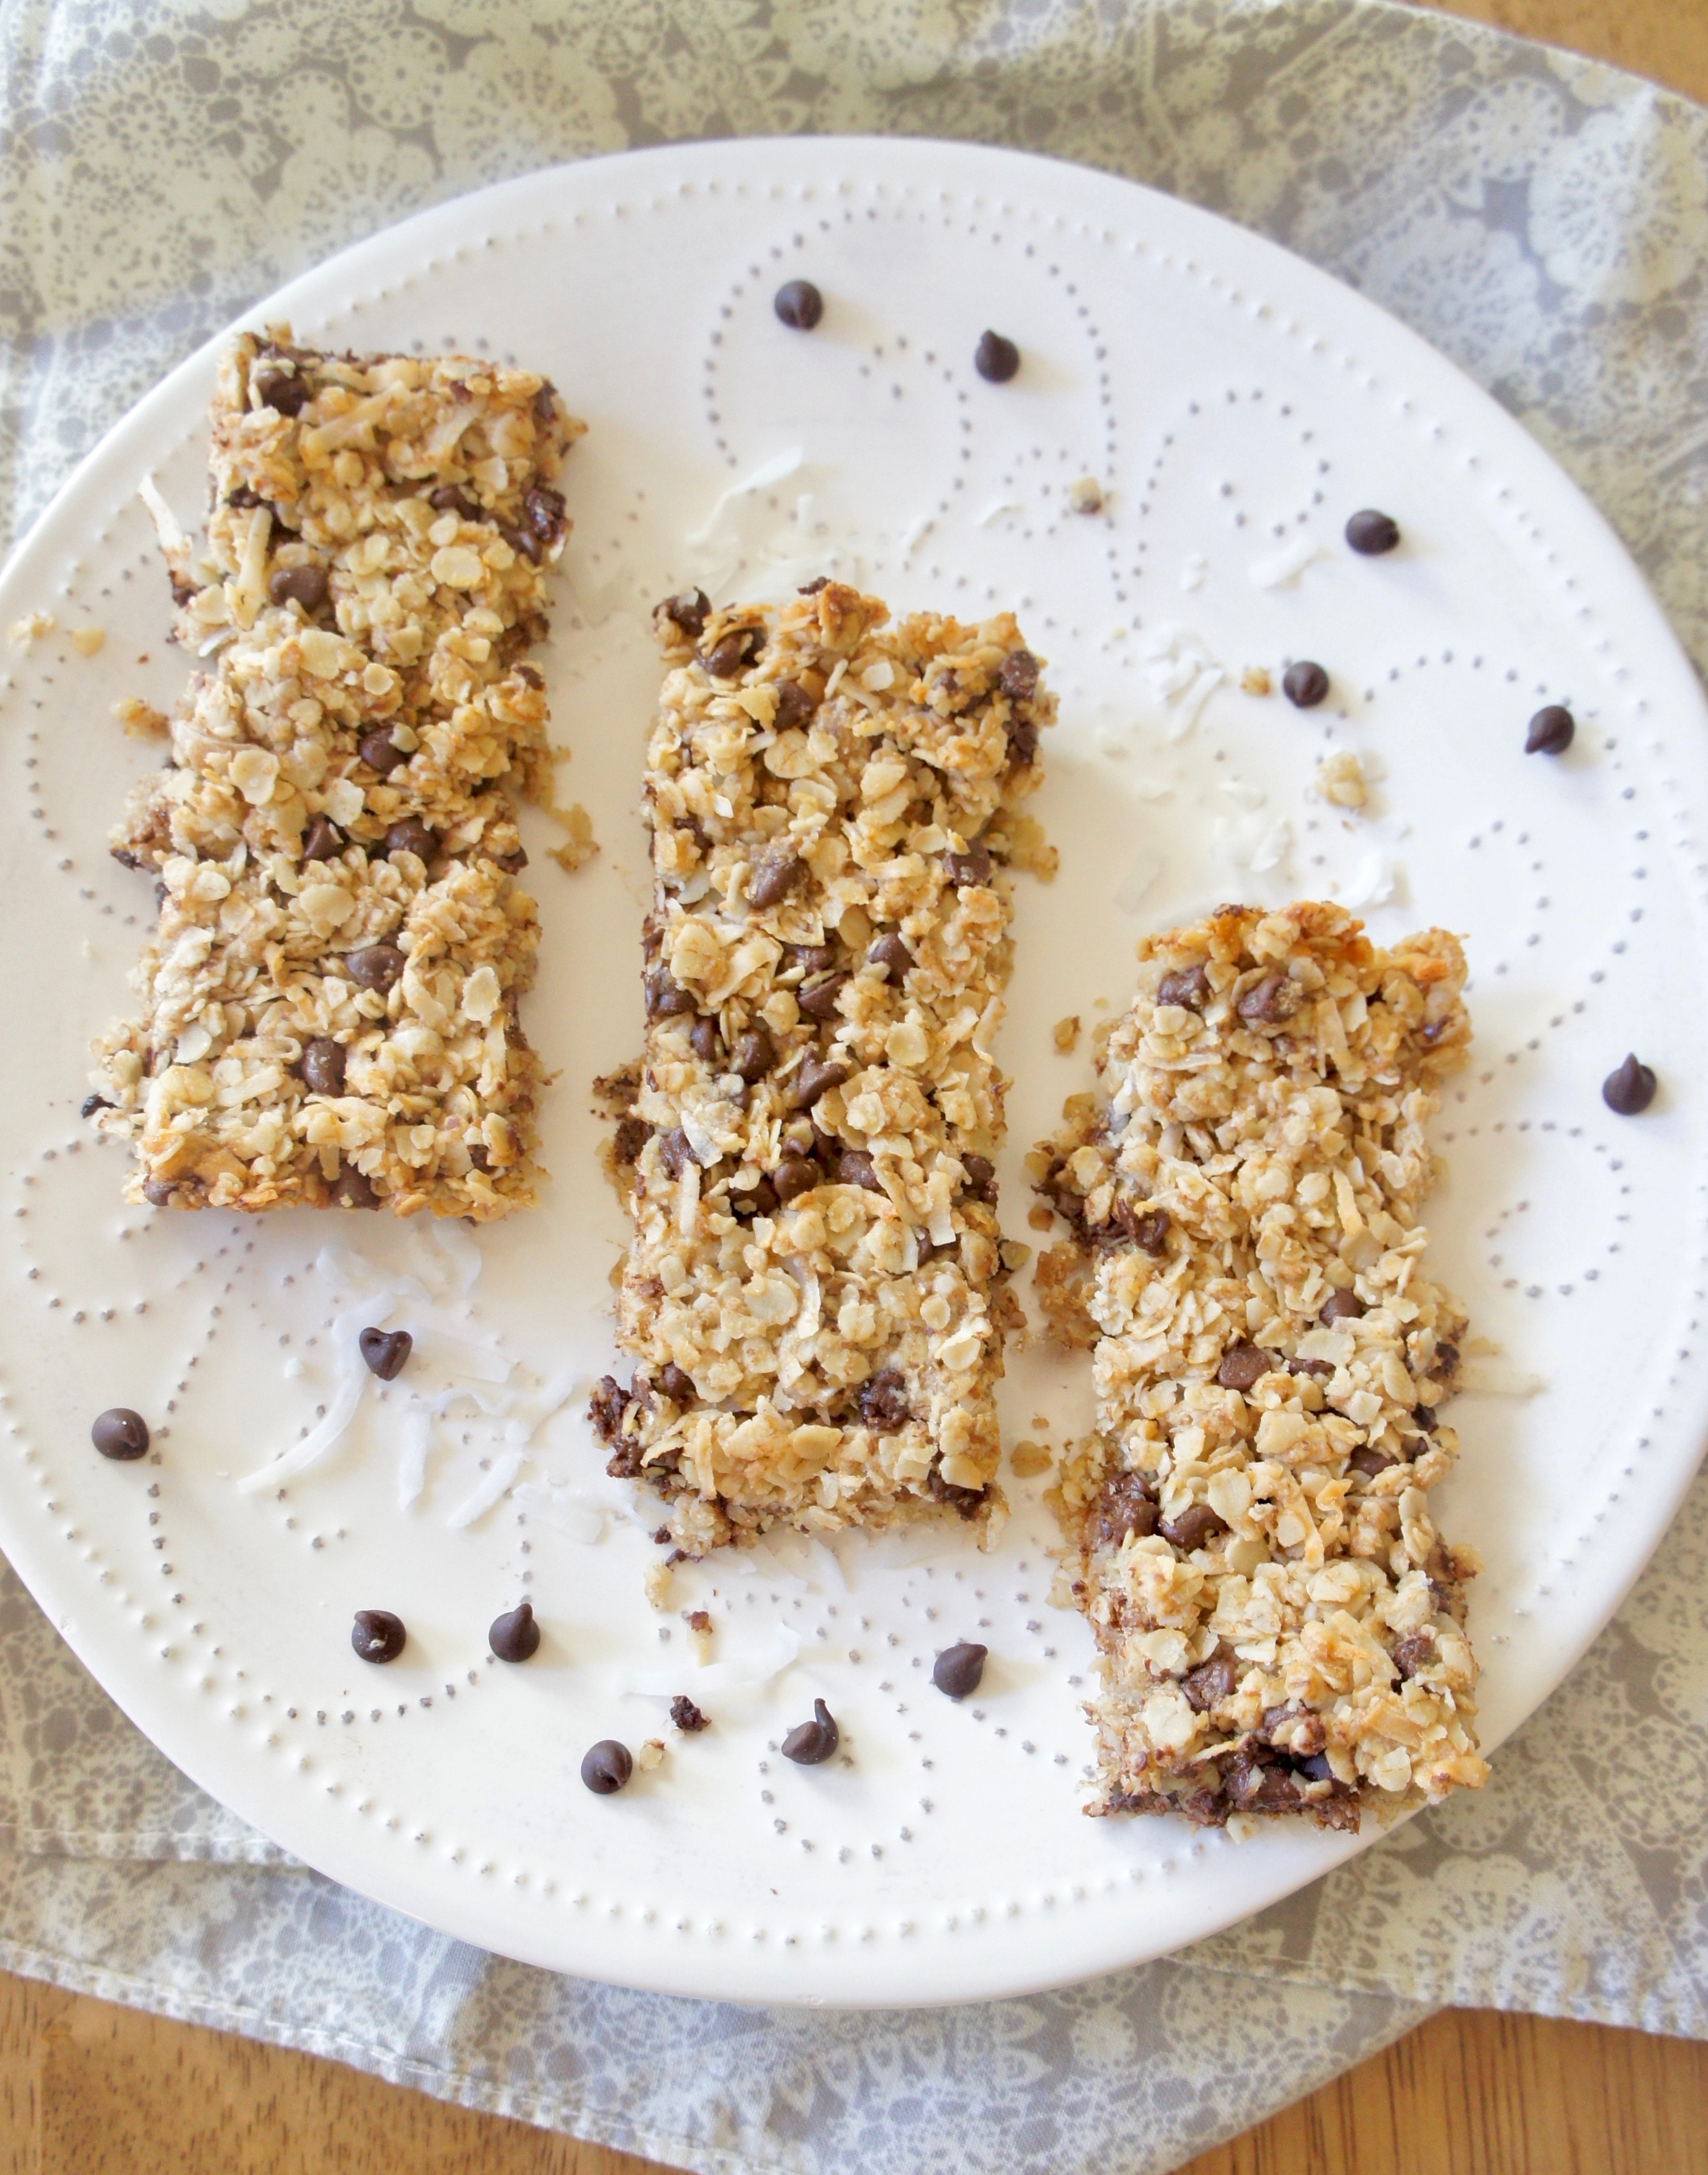
Coconut Chocolate Granola Bars
Chewy, chocolatey, and coconut-y, these homemade granola bars are a yummy alternative to the packaged variety.
Prep Time10 mins
Cook Time30 mins
Total Time55 mins
Servings: 16 bars
Ingredients
- 1 Tbsp. flax seed meal
- 3 Tbsp. water
- 2 c. quick-cooking oats
- 1/2 c. whole wheat flour
- 1/2 c. shredded unsweetened coconut
- 1/2 c. mini chocolate chips (vegan to make vegan)
- 1/2 tsp. salt
- 3/4 tsp. coconut extract
- 1 tsp. vanilla extract
- 1/4 c. honey (or maple syrup to make vegan)
- 1/2 c. almond milk
- 1/2 c. vegetable oil
Instructions
- Prepare the flax egg: In a small bowl, combine 1 Tbsp. flax seed meal and 3 Tbsp. water. Place in the refrigerator to firm up for about 15 minutes.
- Preheat oven to 350 degrees and grease a 13 x 9-inch baking dish with cooking spray.
- In a large bowl, combine all dry ingredients: oats, flour, coconut, chocolate chips, and salt. Mix in coconut extract, vanilla, honey, almond milk, vegetable oil, and flax egg. Spread in prepared pan, pressing down firmly to smooth.
- Bake about 30 minutes. Let cool 10 minutes, then slice into 16 bars. Store covered at room temperature.
Notes
A Love Letter To Food Original Recipe.