
Tag: Gluten Free
Flourless Chocolate Hazelnut Cake
Even if you’re not gluten-free, you’ll love the rich, chocolatey flavor of this Flourless Chocolate Hazelnut Torte. Serve with fresh whipped cream!

Ready for Christmas yet? I’ll admit, even though it’s only three days away, I’m not exactly prepped for the big day. I still have a couple of gifts to buy and wrap and I’m still not 100% sure of my Christmas dinner menu. What can I say, it’s been a crazy year, right? (If there’s one upside to the Covid-19 pandemic, it’s the fact that we can all point to it as an excuse for just about anything…including not being ready for Christmas. At least that’s the story I’m sticking to.)
Even in the midst of this surreal year, I’m fortunate that my family’s Christmas won’t look too much different from our norm. We’ll celebrate Mass the afternoon of Christmas Eve, where I’ll be singing soprano in the choir (in the parking lot because #socialdistancing). Then we’ll go out to dinner at our favorite seafood restaurant, come home, and snuggle by a fire watching A Muppet Christmas Carol. Singing Muppets never get old.

However you’re celebrating the holidays this year, it’s entirely possible you’ll be eating with folks with food restrictions. (Or perhaps you have some yourself.) Among my own family and friends, I can count dozens of people who don’t eat one thing or another–and the most common no-no seems to be gluten. Fortunately, for those living the GF life, there are plenty of tasty ways to get around gluten, even when it comes to my favorite course of the holiday meal: dessert.
I made this gluten-free flourless chocolate hazelnut cake back at Thanksgiving for my GF sister-in-law–and, who am I kidding, for myself because it’s DELISH. It was definitely a hit among all the eaters gathered at my husband’s family’s holiday dinner. With 12 ounces of bittersweet chocolate, it’s super dense and rich, meaning a little bit goes a long way. I also love that it’s flavored with liqueur (chocolate liqueur or hazelnut, like Frangelico, does the job). Fresh whipped cream on the side is optional, but I’d say more or less necessary, as its fluffiness helps cut the cake’s rich texture.

Regardless of your food allergy or sensitivity status, this dessert is sure to please. Hazelnuts are, in my opinion, a totally underrated nut with plenty of fiber, magnesium, and vitamin B-6, plus a little iron. (And, yeah, ok, quite a bit of fat…but at least it’s mostly the healthy monounsaturated kind!) Besides, they’re always an excellent flavor match with chocolate. Check out their full nutrition facts here.
Wishing you a very merry Christmas filled with delicious food! Tell me if you make this Flourless Chocolate Hazelnut Cake as a last-minute dessert!
Flourless Chocolate Hazelnut Cake
This gluten-free dessert is nutty, chocolatey, and super rich! Serve with fresh whipped cream.
Ingredients
- 12 oz. 60% cacao bittersweet chocolate, chopped or chocolate chips
- 3/4 c. butter, cut into chunks
- 6 large eggs
- 1 c. packed light brown sugar
- 1/2 c. hazelnut or chocolate liqueur
- 1 c. hazelnuts, ground in the food processor
- 1 tsp. kosher salt
- Optional: Fresh whipped cream, for topping
Instructions
- Preheat to 350°F. Spray a 9-inch-diameter springform pan with cooking spray, then line bottom with a parchment paper round. Wrap the outside of pan tightly with 2 layers of heavy-duty foil.
- Combine chocolate and butter in a medium metal bowl or double boiler. Bring a small saucepan of water to a simmer and place the bowl on top. Whisk until the mixture is melted. Set aside.
- In a large bowl, whisk together eggs, brown sugar, chocolate or hazelnut liqueur. Whisk in the chocolate mixture until smooth, then stir in ground hazelnuts and salt.
- Pour the batter into the prepared springform pan. Fill a roasting pan halfway with boiling water and carefully place the pan in the center (so that water reaches about halfway up the sides of the springform pan). Tent the top of the springform pan loosely with foil and bake about 90 minutes. The top will still look shiny but should be dry to the touch.
- Remove the springform pan from the roasting pan and cool. Refrigerate about 3 hours before serving, then enjoy with fresh whipped cream!
Notes
Adapted from Epicurious.
Popped Sorghum Protein Balls
Crunchy and sweet, these healthy Popped Sorghum Protein Balls make a super-easy vegan, gluten-free snack!

Whaddaya know about sorghum? You may have heard of this grain as the base for syrups or food flavorings, or maybe you have a vague association of it with endless Midwestern fields of grains–but have you ever tried it all by itself? If not, you’re in for a treat, both eating it all by its lonesome and using it in these tasty, nutty Popped Sorghum Protein Balls.
What is sorghum?
Like most Americans, I haven’t exactly thought of popped sorghum as a go-to snack throughout my 38 years of life. In fact, I had never given the stuff a second thought until I attended a nutrition conference last year and was introduced to it as not just a ho-hum grain that flavored cereals (maybe? or something?), but a snack in its own right.
Sorghum is an African ancient grain that has found a home on American soil. It’s not only gluten-free, vegan, high in fiber, and rich in antioxidants, its growing practices are pretty darn good for the environment, too. According to the presenter at my most recent nutrition conference, 90% of American sorghum farmers do not irrigate, saving valuable water. Plus, three-quarters of them use conservation tillage practices, which conserves soil by reducing erosion. A sorghum habitat even protects and increases wildlife! I don’t claim to be a soil expert (I’ll leave that to my uncle Scott in Quincy, Illinois) but it’s nice to know the majority of sorghum grown in the U.S. has a top-notch environmental profile.
Okay, but what is popped sorghum?
All well and good, I hear you say, but I’m here for the food.
Me too!
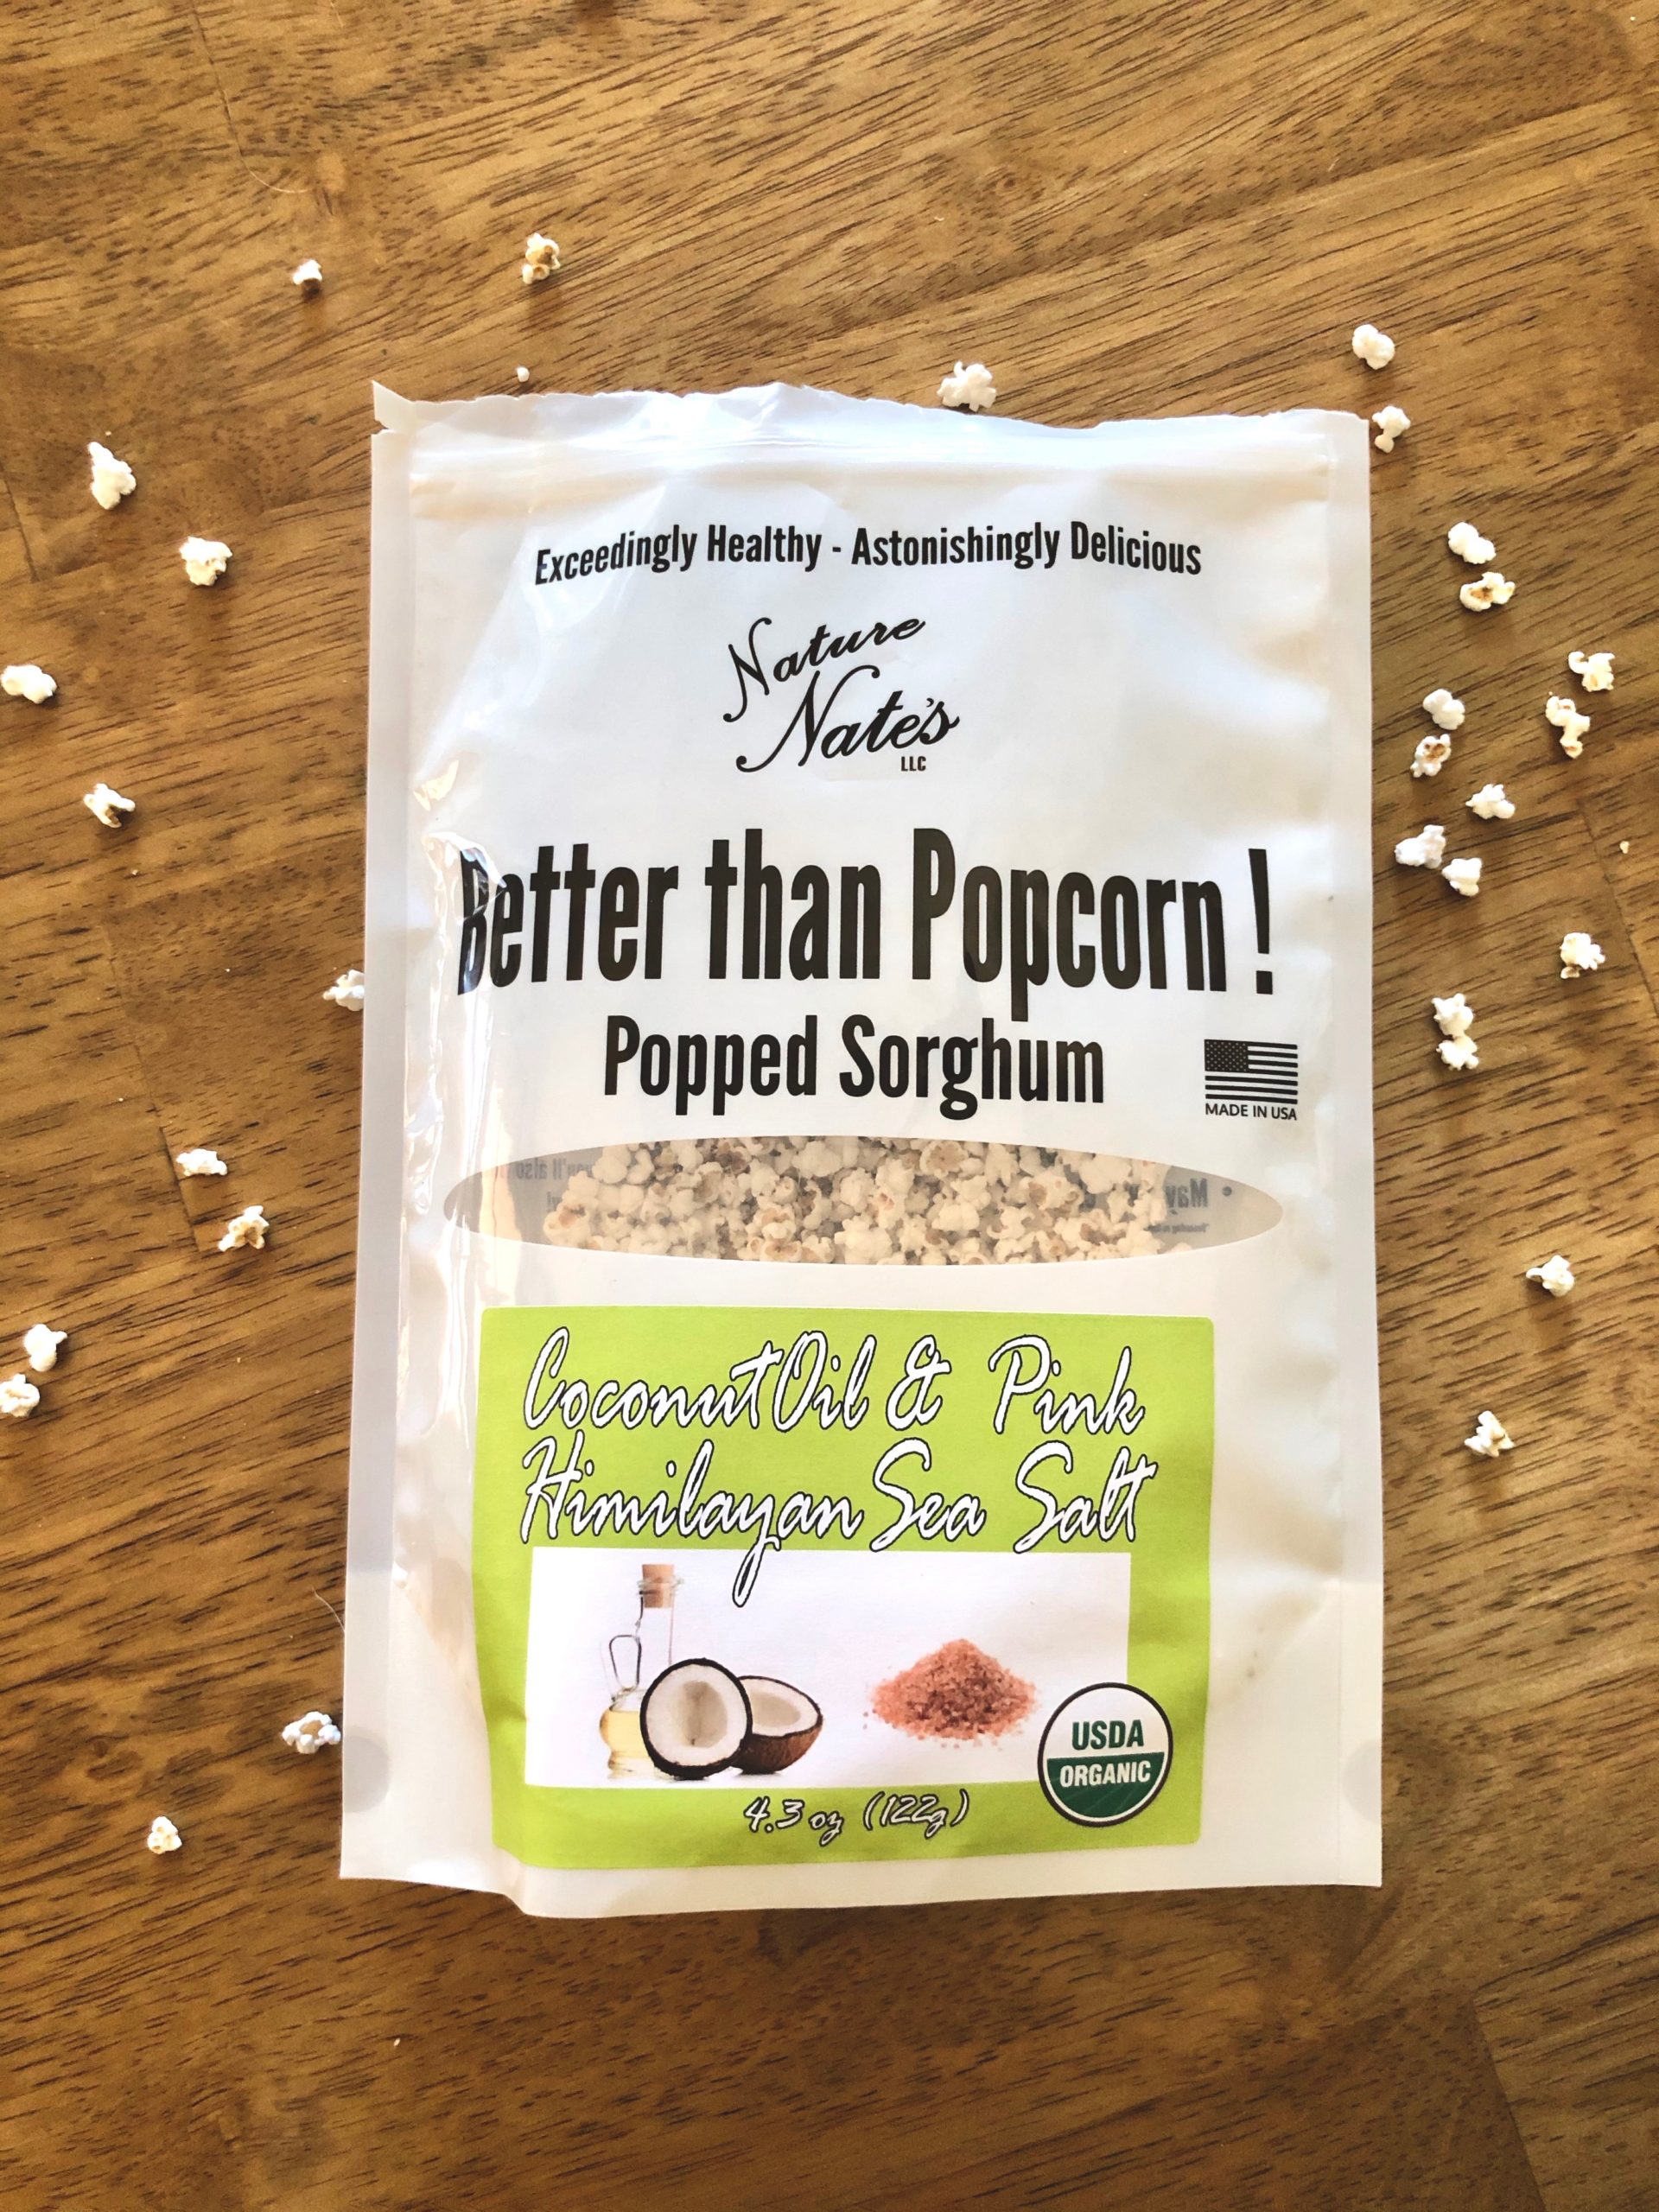
I recently had the chance to try out Nature Nate’s Popped Sorghum, which takes sorghum grains and pops them to create itty-bitty bites of salty deliciousness that are, essentially, like shrink-rayed popcorn.

Look how cute! So tiny!
So far, I’ve tried the Avocado Oil and Sea Salt, Coconut Oil and Pink Himalayan Sea Salt, Rosemary Garlic, and Organic Ghee Butter flavors. In terms of taste, I’d say popped sorghum is like a slightly nuttier popcorn, with a somewhat softer texture. Bonus: There’s no giant, tooth-cracking kernel in the middle just waiting to throw you under the bus for dental work.

My 13-year-old son is our family’s biggest popped sorghum fan. After school, he sits on the couch with a large bowl. My only complaint is, being a teenage boy, he pretty much always leaves the bowl (and the crumbs) for me to clean up.
I digress.
With savory flavor, scoopable size, and crunchy (but not too crunchy) texture, popped sorghum makes for great snacking. But, as a recipe developer, my mind is always churning out thoughts of how else I can use a food. (You know, ’cause eating something all by itself just isn’t exciting enough.)
I’m a fan of energy bites, which always seem tastier with a hint of crunch. So I figured the Avocado Oil and Sea Salt Popped Sorghum from Nature Nate’s could be just the thing to add to a quick batch of peanut buttery protein balls. Sure enough, the little crunchies brought a unique, salty twist (and a boost of fiber and nutrients) to these snacks.

With just six ingredients and one bowl, these bites came out sweet and salty, crunchy and chewy. They also formed up nice and easily into portable, poppable balls. (I’m now trying to convince my 13-year-old to eat them instead of just popped sorghum to save on crumbs.) If your afternoon snacks have gotten a little boring lately, give them a try!
Other ways to use popped sorghum
Got some extra popped sorghum left after you make protein balls? Here are some creative ways to eat this unique grain:
- Sprinkle some in a trail mix
- Use it as a salty topping on ice cream
- Scatter some throughout a chocolate bark
- Add crunch (and extra fiber) to oatmeal

Popped Sorghum Protein Balls
Crunchy and sweet, these protein balls come together in just minutes for a healthy, unique snack.
Prep Time10 mins
Servings: 12 balls
Ingredients
- 1/2 c. Nature Nate's Avocado Oil and Sea Salt popped sorghum
- 1/2 c. creamy peanut butter
- 2 Tbsp. maple syrup
- 1/4 c. flax seed
- 1/2 c. old-fashioned oats
- 1/4 tsp. ground cinnamon
Instructions
- In a large bowl, mix together all ingredients until well combined.
- Using your hands, form into golf ball-sized balls.
- Refrigerate in an airtight container for up to a week.
Notes
A Love Letter to Food Original Recipe.
Disclosure: This post sponsored by Nature Nate’s Popped Sorghum. All opinions my own.
The Easiest Baked Brown Rice
The absolute easiest way to make brown rice! Baking makes for fluffy, no-mess rice.

If you had to name a food everyone can agree is healthy, you really couldn’t go wrong with brown rice. (Okay, unless you’re one of those people who think all grains are bad…which, for the record, has been disproven time and again.)
Brown rice is packed with fiber (3.5 grams per cup), protein (5 grams per cup), and important micronutrients like magnesium and selenium. It’s got a relatively low glycemic index of 50, meaning it won’t spike your blood sugar. Plus, it’s pretty dang low calorie at about 215 cals per cup. It goes with just about everything, from casseroles to Mexican food to meat dishes.
Only trouble is, well, making it.
Seems like every time I try making brown rice on the stovetop, I end up with a sticky mess that hangs on to the bottom of my saucepan like grim death. I dread cleaning any pot that has touched brown rice.
What I never realized–until recently–is that there’s actually a much better way to get fluffy, chewy brown rice that doesn’t involve scraping burnt grains off the pot for an hour after dinner. How, you ask? By baking it!
I’ll ‘fess up and say I didn’t come up with this bright idea on my own. In fact, my moment of brown rice enlightenment actually came from my kids’ favorite cookbook, America’s Test Kitchen’s Complete Cookbook for Young Chefs. My 11-year-old son decided he wanted to try making baked brown rice, and it turned out to be totally easy enough for a preteen to manage without burning the house down. Essentially, all it takes is boiling some water in a kettle, then pouring it over grains in a baking dish (with a bit of butter, of course!). Cover and bake for an hour and you’re all set.
The beauty of this recipe is not only its simplicity, but the fact that it cooks the rice perfectly evenly–unlike the stovetop method, which can yield wet rice on top and crispy grains on the bottom. And, wonder of wonders, miracle of miracles, it doesn’t stick to the baking pan.

Since learning about this easy method, I’ve been making brown rice like a fiend, and I’m not sorry about it. It’s a versatile, healthy side dish I can always find a use for. I’ll never make brown rice on the stovetop again.
So tell me…am I just late to the game? Have you tried baking brown rice in the oven? Are you as enthused about it as I am?
The Easiest Baked Brown Rice
Baking brown rice makes for a fluffy finished product that won't stick to the pan!
Prep Time10 mins
Cook Time1 hr
Servings: 5
Ingredients
- 1 1/2 c. brown rice
- 1 Tbsp. butter
- 2 1/3 water
Instructions
- Preheat oven to 375 degrees. Spread brown rice in an 8 x 8-inch glass baking dish. Cut butter into small pieces and dot over rice.
- In a kettle, bring water to a boil. Carefully pour over rice. Cover tightly with two sheets of aluminum foil.
- Bake for 1 hour, uncover, fluff, and serve.
Notes
Adapted from America's Test Kitchen's Complete Cookbook for Young Chefs.
Sweet Potato Kale Curry
This easy Sweet Potato and Kale Curry is packed with nutrients and just happens to be vegan!

Before I dive into telling you of the wonders of this Sweet Potato and Kale Curry, allow me to remind everyone that I am not a vegan—not even close. Though I do like to limit my meat consumption, especially red meat, it’s rare for me to eat a meal that’s totally vegan. Which is what always makes it surprising when a vegan dinner becomes one of my favorites…like this amazing recipe.
These days, in the throes of the coronavirus pandemic, I’m always looking for meals that are healthy and easy to pull together. With my kids home very day doing online school, I swear all they’re doing is sitting on laptops eating Sour Cream and Cheddar Ruffles (except for the times when I force them to go outside or run around the house a few times). And then there’s me. I’ll confess, my pandemic eating habits haven’t been stellar. With reduced activity and a dip in diet quality, I’m especially motivated lately to feed us all a healthy dinner.
This Sweet Potato and Kale Curry has been a particular lifesaver. It’s full of nutrients like vitamin A from sweet potatoes, vitamin K from kale, and fiber off the charts from the veggies and chickpeas. Not to mention, with minimal prep and about 18 minutes total cooking time, it’s a genuine 30 minute meal.
Now, this may sound well and good for health nuts who don’t mind flavorless food, but hold your peace until you’ve tried the coconut milk broth in this curry. Mild but rich, it’s the kind that makes you wish you’d made an entire separate batch just for sipping.
If you’re like me, I think you’ll find a little sweet potatoes and kale over rice will do your average pandemic dinnertime a world of good, whether you’re a vegan, a meat eater, or somewhere in between.


Sweet Potato and Kale Curry
Ready in 30 minutes, this easy vegan curry is a great choice for a healthy weeknight. Its coconut milk broth is especially delish!
Prep Time10 mins
Cook Time20 mins
Servings: 4
Ingredients
- 1 Tbsp. vegetable oil
- 1 Tbsp. minced fresh ginger
- 2 cloves garlic, minced
- 1 Tbsp. curry powder
- 3 small or 2 medium sweet potatoes, peeled and diced into 1/2 inch pieces
- 1 15-oz. can chickpeas, drained
- 1 15-oz. full-fat coconut milk
- 1/2 c. water
- 1 tsp. salt
- 1/4 tsp. black pepper
- 5 c. torn kale leaves
- 4 c. cooked jasmine rice
Instructions
- Heat oil in a large non-stick skillet over medium heat. Add ginger and garlic and saute for about 2 minutes, until fragrant. Add curry powder and cook an additional minute.
- Add diced sweet potatoes, chickpeas, coconut milk, water, salt, and pepper. Bring to a boil, cover, and reduce heat to a simmer. Simmer 15 minutes or until sweet potatoes are soft.
- Add kale to the skillet and cook until wilted, about 2 minutes. Serve over cooked jasmine rice.
Notes
Adapted from The Kitchn.
Peach Applesauce
Mix up your applesauce game with this sweet alternative! Peach applesauce is the perfect summery snack or dessert.

Quick: What’s your favorite summer fruit? While my thoughts immediately turn to blueberries and strawberries, peaches come in as a close second (or third, I guess?). These stone fruits are among the most versatile bases for sweets. I mean, is there any dessert you can’t make with peaches? Peach pie, peach cobbler, peach crisp, peach popsicles…I could go on, like:

Sorry, I’ve had a hankering to watch Forrest Gump lately.
Anyway, peaches aren’t just great on their own in snacks, smoothies, desserts, and breakfasts–they also make a great complement to other fruits, like…drumroll please…apples! I wouldn’t normally say homemade applesauce needs any tinkering (it’s pretty great on its own), but when sweet, juicy peaches are in season, might as well use the fruits of summer however you can. (Especially when you’ve brought home a giant pallet of them from Trader Joe’s, like I did recently.)

Anyway, this is one of those toss-everything-in-the-crock-pot-and-let-your-house-fill-with-aromas type recipes. You really can’t screw it up, and you could probably play with it to make it extra peachy, extra apple-y, extra sweet, or whatever you like. I also imagine you could use canned peaches in a pinch (like when they’re not in season).
Plus, since kids are STILL home for the longest summer ever that began in March, this makes a snack you can actually feel good about feeding them. (Anyone else going through snacks at record speed? Not gonna lie, we’ve been through a whole lot of chips and candy around here…)
Once the chunky goodness of this peach applesauce emerges from the slow cooker, it’s delicious hot or cold, on its own or atop vanilla ice cream. It’s a little smoother than traditional applesauce, which I think gives it an extra something special.
Enjoy!
Peach Applesauce
A summery variation on a fall favorite, this Peach Applesauce is lightly sweet with a hint of spice.
Prep Time20 mins
Cook Time3 hrs
Ingredients
- 4 large peaches, peeled and chopped
- 8 Granny Smith apples, peeled and chopped
- 1/4 c. white sugar
- 1 tsp. cinnamon
- 1/4 tsp. nutmeg
- 1/4 c. water
Instructions
- Place all ingredients in a slow cooker. Cook on high 2 1/2 hours, then reduce heat to low and cook another hour or until the fruit has softened. Blend to your liking using a potato masher or immersion blender. Cool and refrigerate.